Tesla charging
Tesla Wall Connector Installation in Santa Clara
Gen 3 units mounted, wired and commissioned across Santa Clara and along the El Camino Real corridor into Sunnyvale.
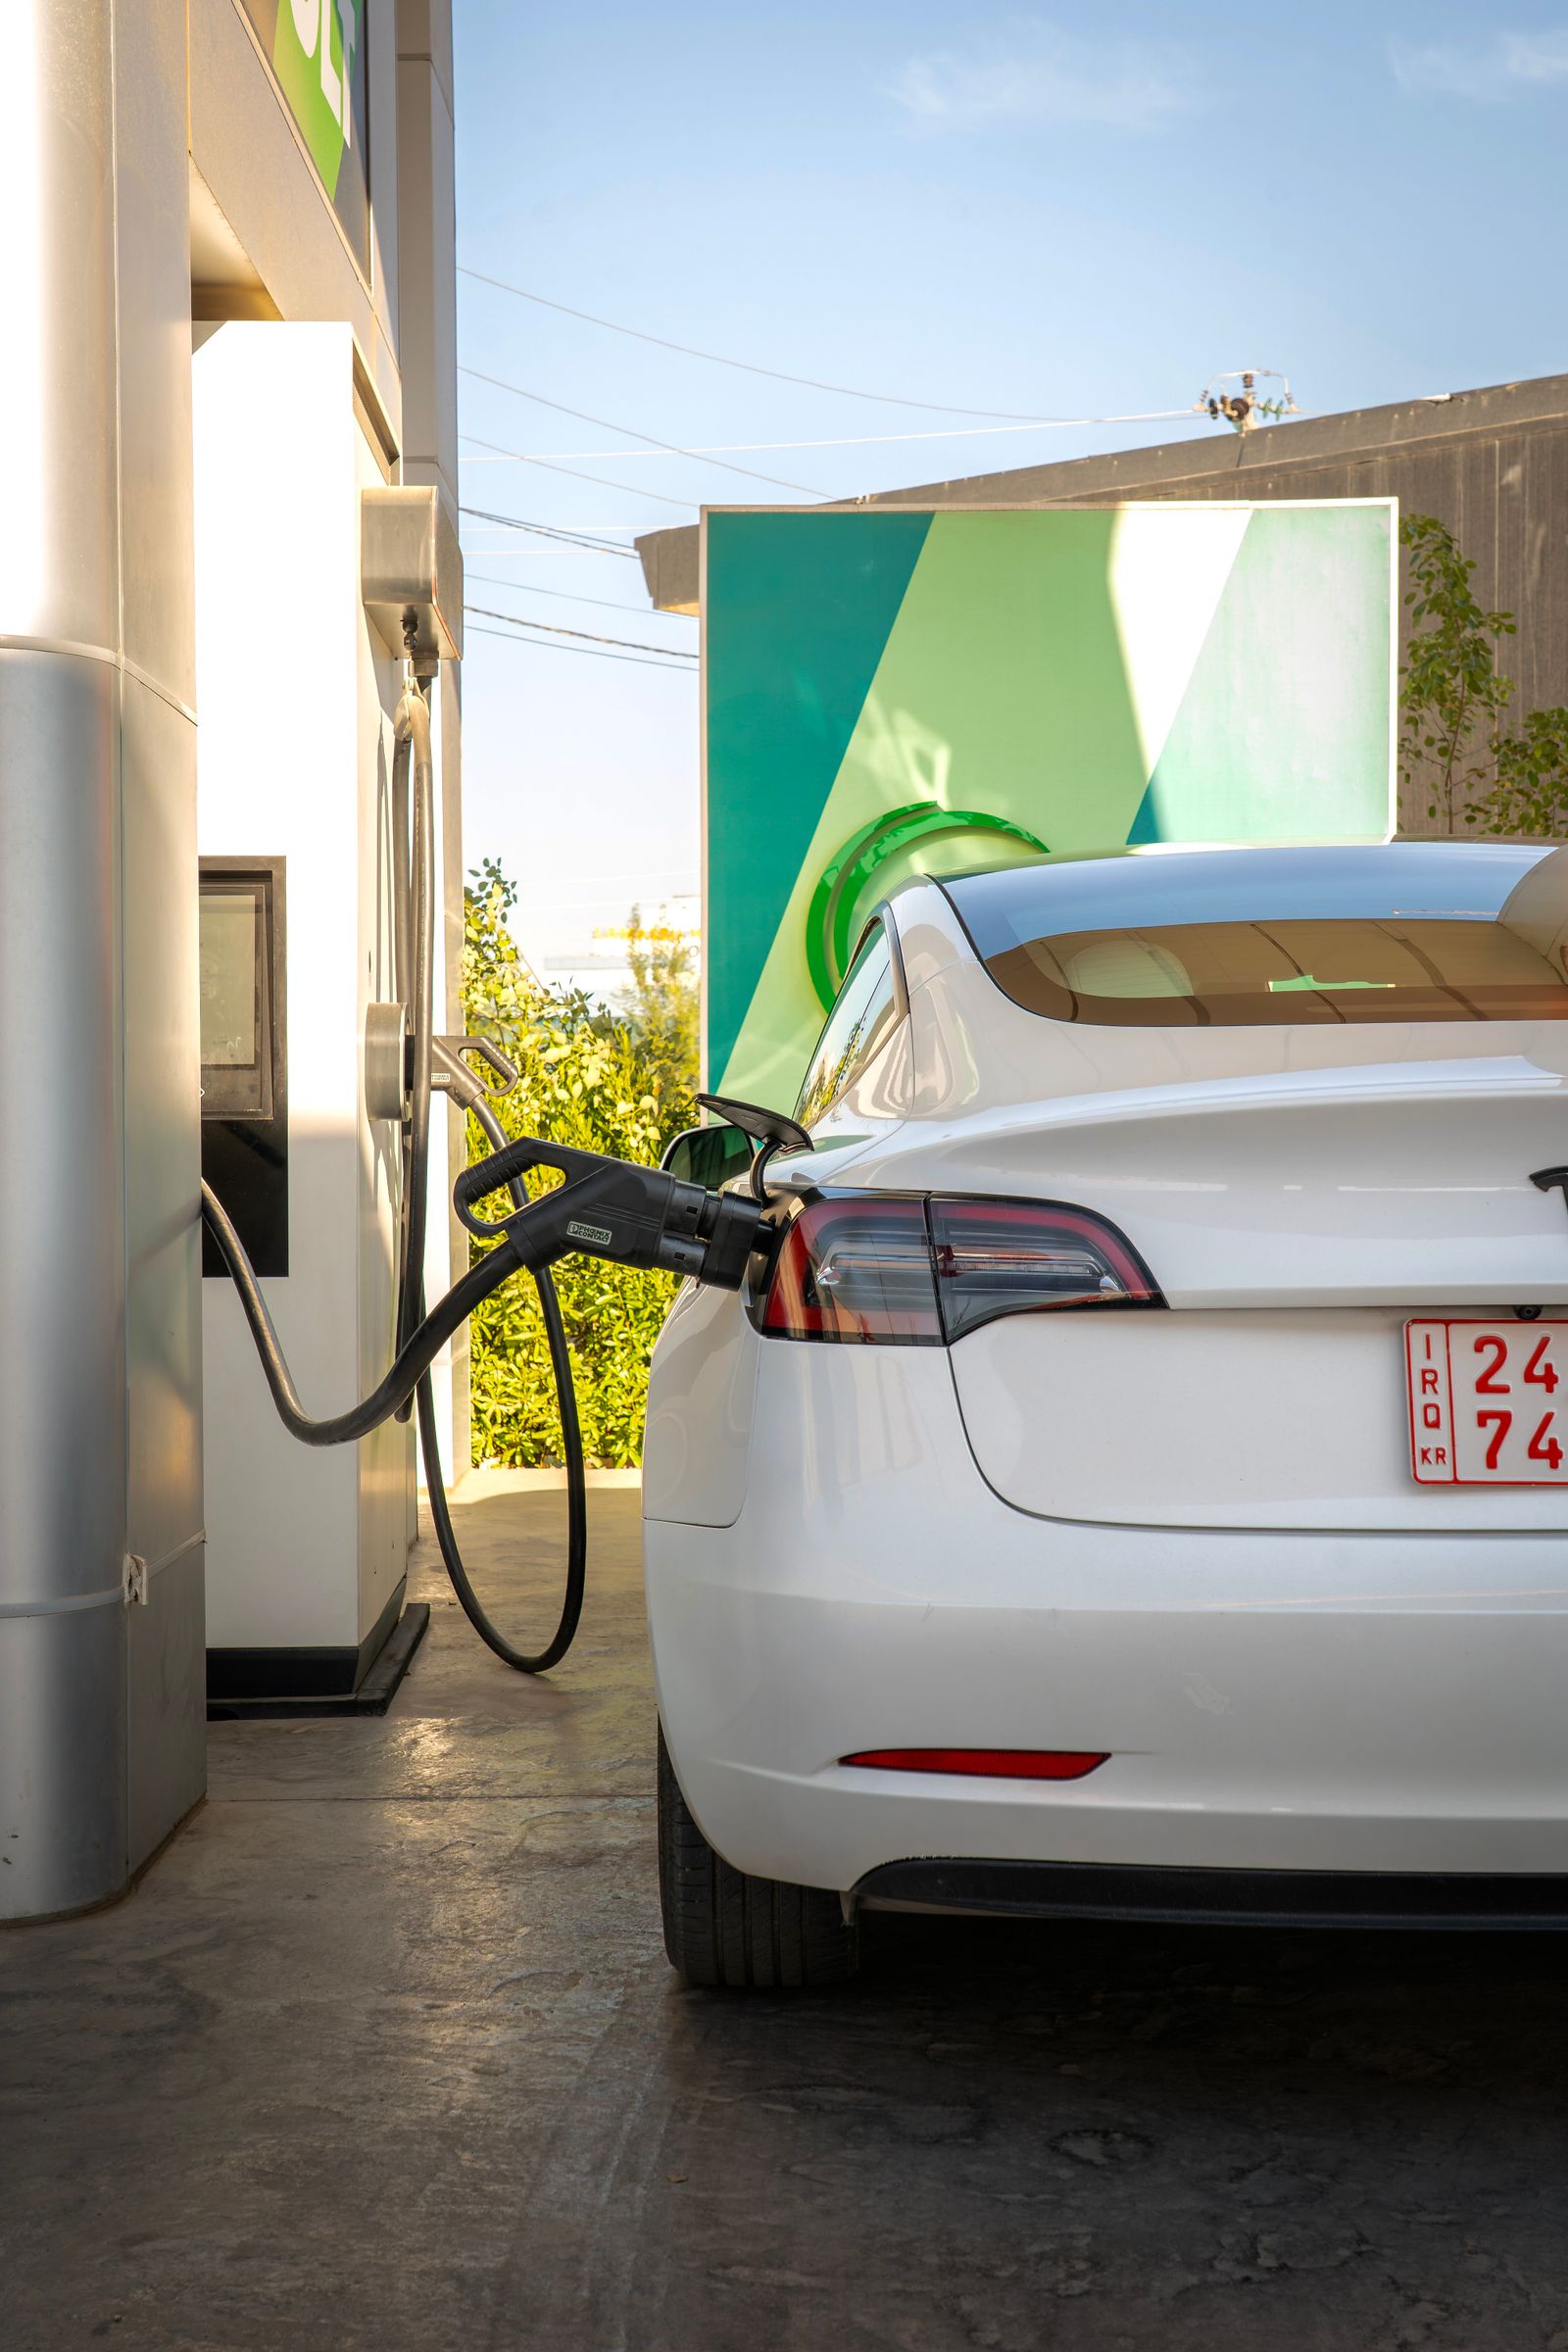
The Unit Tesla Ships, Installed the Way Tesla Specifies
Tesla Wall Connector installation in Santa Clara is the most common single request we take, partly because the hardware is good and partly because the install instructions assume an electrician is reading them. The Gen 3 unit is rated up to 48 amps continuous, which means a 60-amp circuit, conductors sized for continuous duty, and a hardwired connection rather than a plug. It also has a commissioning step most people never see: the unit's internal amperage limit has to be set to match the circuit behind it, through its own web interface, before it will behave. Santa Clara EV Charger Installation handles both halves, the electrical work and the commissioning, and then watches your car draw power before packing up. We work on everything from the detached garages off Benton Street to the shared structures near Great America Parkway.
What a Properly Commissioned Wall Connector Install Covers
The hardware is yours; the circuit and the setup are ours. Here is the full scope.
- 01
Load calculation against your existing service
A 48-amp Wall Connector needs a 60-amp circuit, which is a serious draw on a 100-amp panel. We calculate rather than assume, and tell you plainly if the answer is a service upgrade first.
- 02
Circuit sized for the amperage you actually want
If the panel supports the full 48 amps we run the 60-amp circuit; if it supports 32, we size for that and set the unit to match. Either way the number is on the quote.
- 03
Hardwired termination into the unit's wiring compartment
Gen 3 units above 40 amps are hardwired by design. We land the conductors on the unit's terminals to Tesla's torque spec and close it up properly.
- 04
Correct two-pole breaker in your load centre
Matched to the panel manufacturer, not a generic fit, so the listing and any warranty on the panel stay valid.
- 05
Mounting on studs or a proper backer, at a usable height
The unit is anchored solidly, positioned so the cable reaches your charge port without crossing a walkway, and set where the door still clears it.
- 06
Conduit routing chosen for the wall you have
Surface EMT in a garage, concealed runs where the wall is finished, weather-rated methods on any exterior section. The method is named on the quote.
- 07
Wi-Fi commissioning and firmware check
We join the unit to your network through its own setup interface, confirm it reports in, and let it pull current firmware before we sign off.
- 08
Internal amperage limit set to the installed circuit
This is the step that gets skipped most often and causes the most trips. We set it, then show you the screen where it lives in case you ever change the circuit.
- 09
Power-sharing configuration where there are two units
Households with two EVs can run paired connectors that share one circuit intelligently. If that is your situation, we configure the pairing as part of the job.
- 10
City of Santa Clara permit, inspection and a live charge test
Permit filed, inspector met, and your car plugged in and drawing before we leave.
From Quote to First Charge
Three steps from the first phone call to your car drawing power.
- 1
Assessment and honest capacity advice
We open the panel, run the numbers, and tell you which amperage your service will genuinely support. Plenty of people arrive wanting the full 48 amps and leave happy with 32 once they see that it still fills the car overnight. That conversation happens before you are quoted, not after.
- 2
One written price, permit filed
The quote names the circuit size, the conductor spec, the mounting location and the permit fee as a single figure. On approval we file with the City of Santa Clara Permit Center and book your install date, typically inside the week.
- 3
Install, commission, test
Install day is usually a half-day for a straightforward garage location. We run and terminate the circuit, mount the unit, land the conductors, then move to commissioning: network join, firmware, amperage limit, and a real charge session with your car. The inspection follows and we attend it.
The Details That Separate a Good Install From a Working One
Commissioning is treated as part of the job
An electrician who leaves after the conductors are landed has done half of a Wall Connector install. The amperage limit, the network join and the firmware check are on our checklist, not yours.
We do not oversize to look impressive
Pushing a 60-amp circuit into a panel that cannot support it creates a problem six months out. We size to what the service can carry and tell you what that means in miles per hour of charging.
Tesla-certified and EVITP-trained
The install follows the manufacturer's published method, which keeps your hardware warranty intact and means the unit behaves the way the app expects it to.
- Licensed C-10 Electrical Contractor
- EVITP-Certified Installers
- Tesla-Certified Installation
- Bonded and Insured
- Flat-Rate Written Pricing
- Permit and Inspection Included
Book Your Wall Connector Install
Tell us whether your panel is 100 or 200 amps and roughly how far it sits from the parking spot, and we can give you a sensible range on the phone. The on-site check turns that into a flat written number, and the install usually follows within the week.
C-10 licensed · EVITP-certified · Permit, inspection and workmanship warranty included in the quoted price.